Running Facebook ads without Facebook pixel installed on your Shopify store is just as same as knowing where the treasure chest lies and not working to get it.
With Facebook pixel on your Shopify store, you can boost your sales by measuring, analyzing, and building your prospective customers for your Facebook ads. To make it work, all you need to do is to play with some codes or add them by doing some edits on the admin page.
For any non-tech-savvy person, adding the Facebook pixel to the online store may seem to be a tedious and tiring task. After all who would love to hear the words “add some code to the backend of your store?”
But at PRP Webs, our motive is to make things easier for you. That is the main reason why we created this step-by-step guide to help you install Facebook pixel in your Shopify store.
So, get yourself a hot cup of coffee, follow the steps mentioned below, and by the time you reach the end of the blog, you’ll have a Facebook pixel installed on your store.
But, before that, let’s start with the basics and then move on to the steps!
What is the Facebook pixel?
The Facebook pixel is a piece of tracking code that is used to track the actions or movements of your website visitors.Why it is important for your Shopify store?
Facebook has huge chunks of data related to how your customers behave, their tastes, and preferences, and this can help you optimize your ads. This is the reason why you must install Facebook pixel in your Shopify store. As soon as you add the Facebook pixel to your online store, you will be able to:- Measure conversions across different devices
- Create retargeting ads or campaigns
- Run ads on dynamic products
- Create ads for a different set of customers
- Page views
- Add to the cart
- Checkout
- Purchases
Steps to connect your Facebook account:
Step 1: Visit your Shopify admin page and log into it.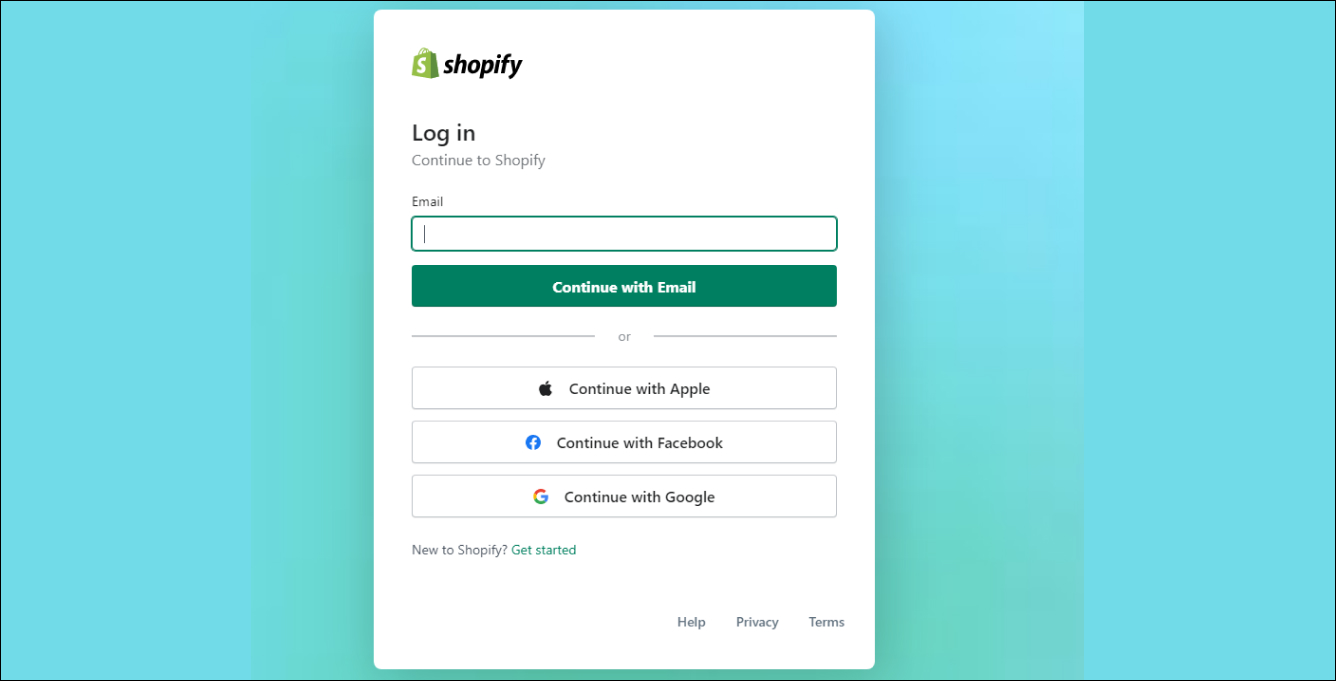 Step 2: The old Online Store > Preferences pixel field has been removed. Instead, install the Facebook & Instagram sales channel from the Shopify App Store — it connects your Meta Pixel automatically — or go to Settings > Customer events and click Add custom pixel.
Step 3: If you use the Facebook & Instagram channel, connect your Meta (Facebook) Business account and choose the Pixel to link. If you use a custom pixel, paste your Meta Pixel code into the custom pixel editor and click Save.
Step 4: This window will be opened and there you need to click on ‘Connect Account’.
Step 2: The old Online Store > Preferences pixel field has been removed. Instead, install the Facebook & Instagram sales channel from the Shopify App Store — it connects your Meta Pixel automatically — or go to Settings > Customer events and click Add custom pixel.
Step 3: If you use the Facebook & Instagram channel, connect your Meta (Facebook) Business account and choose the Pixel to link. If you use a custom pixel, paste your Meta Pixel code into the custom pixel editor and click Save.
Step 4: This window will be opened and there you need to click on ‘Connect Account’.
 Step 5: If you’ve already created your Facebook account, then just log into it. If not, then create a new account and connect it to Shopify. Remember to save the changes at the end!

Steps to add Facebook pixel on your Shopify store:
Now, let’s head on to answer the big question: how to add Facebook pixel on a Shopify store. So, it’s time to get our hands into some technical stuff and do some setting up. Step 1: From your Shopify admin panel, click on Settings > Apps and Sales Channels.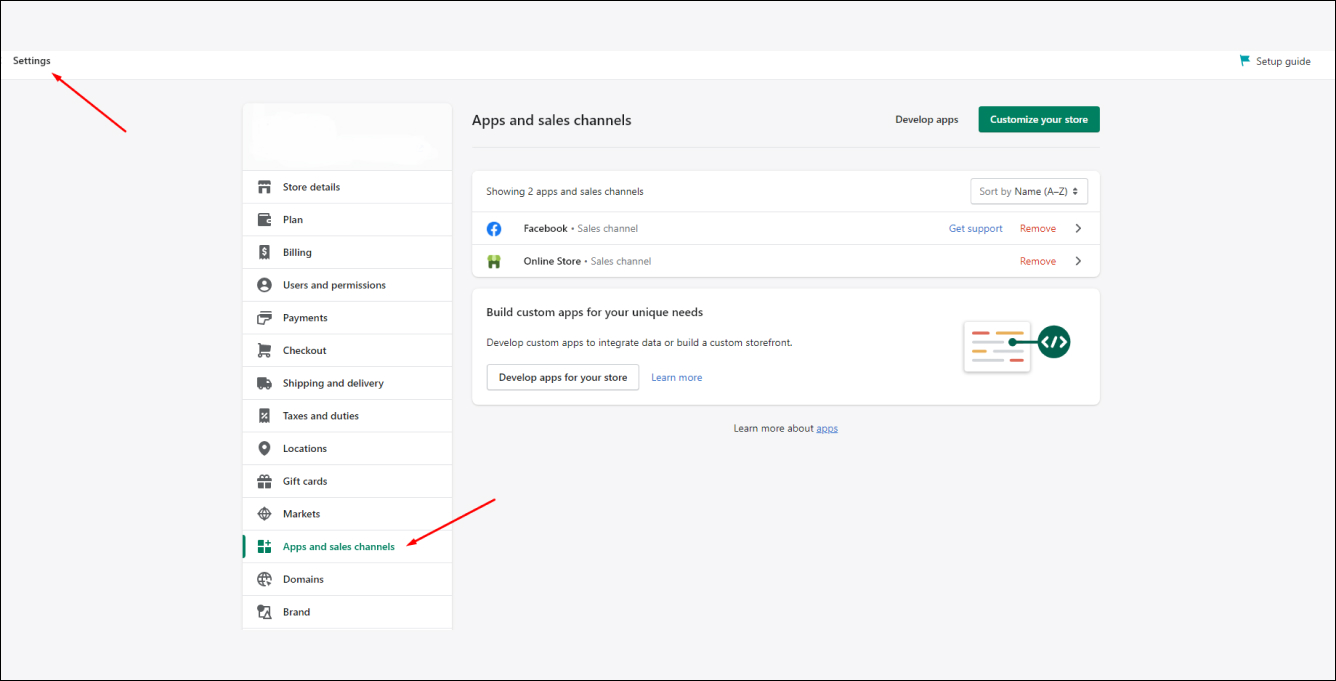 Step 2: Next, click on Facebook.
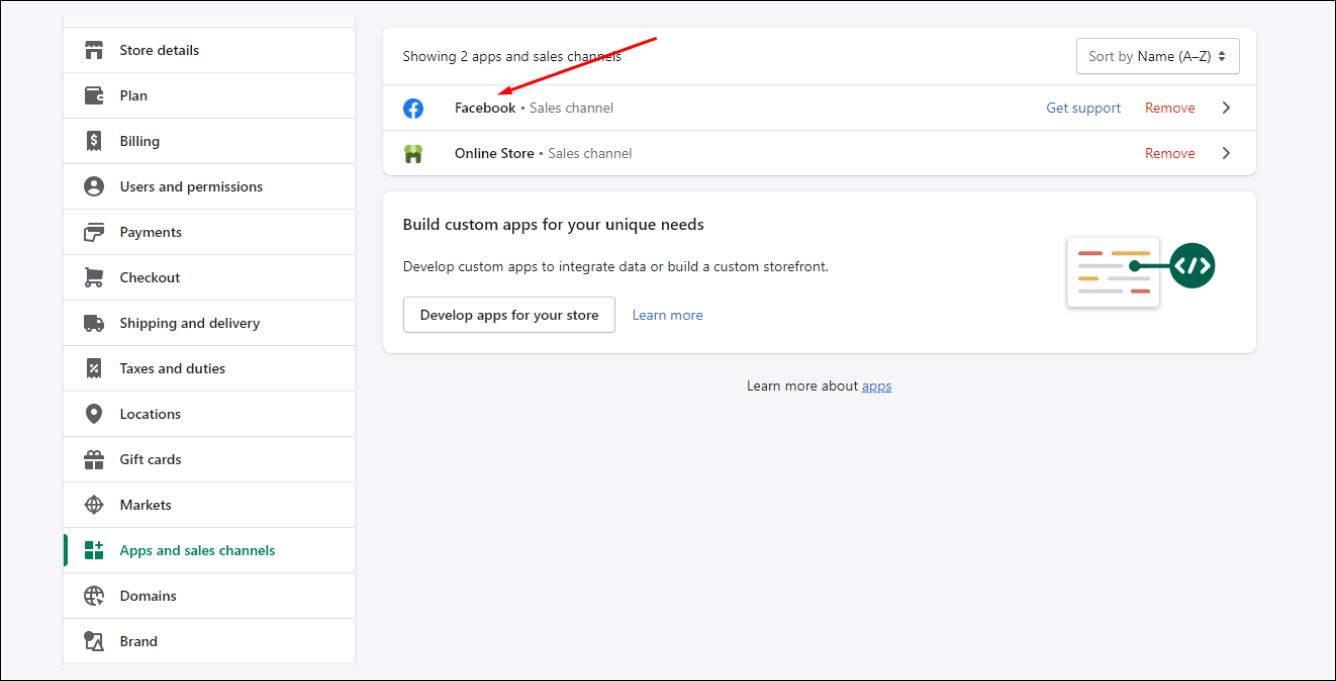 Step 3: Click on Open Sales Channel.
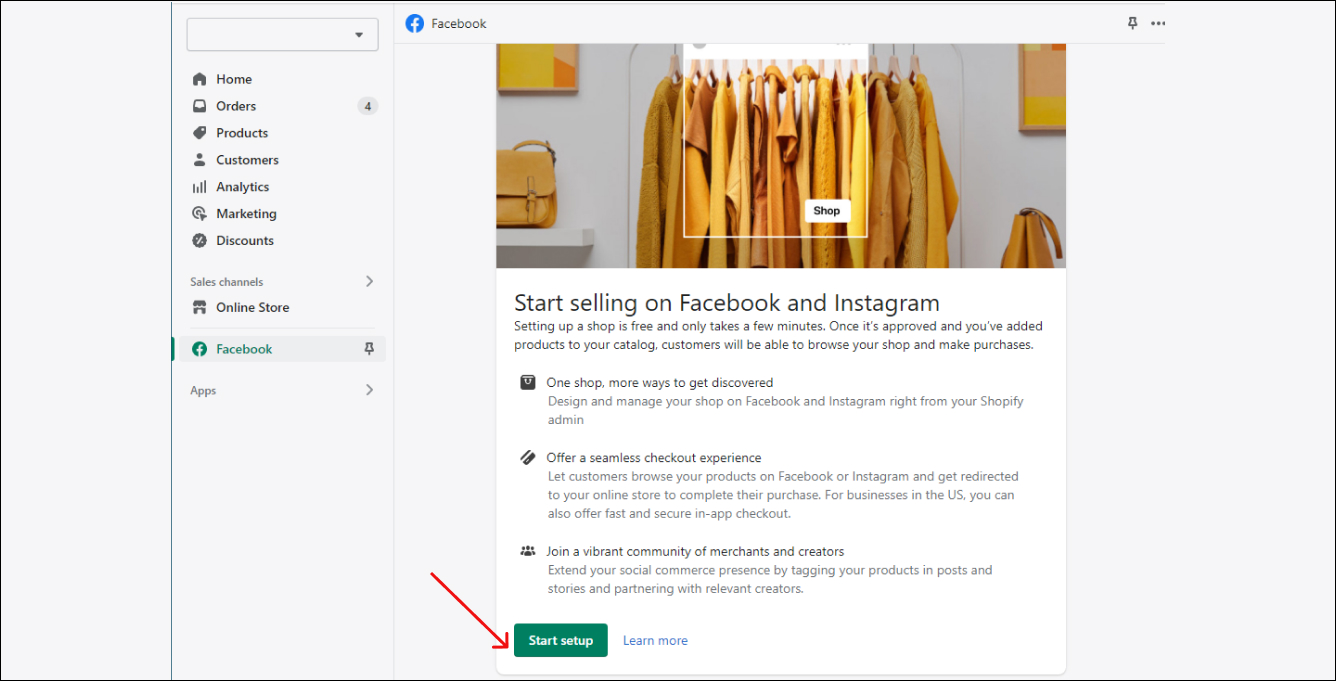
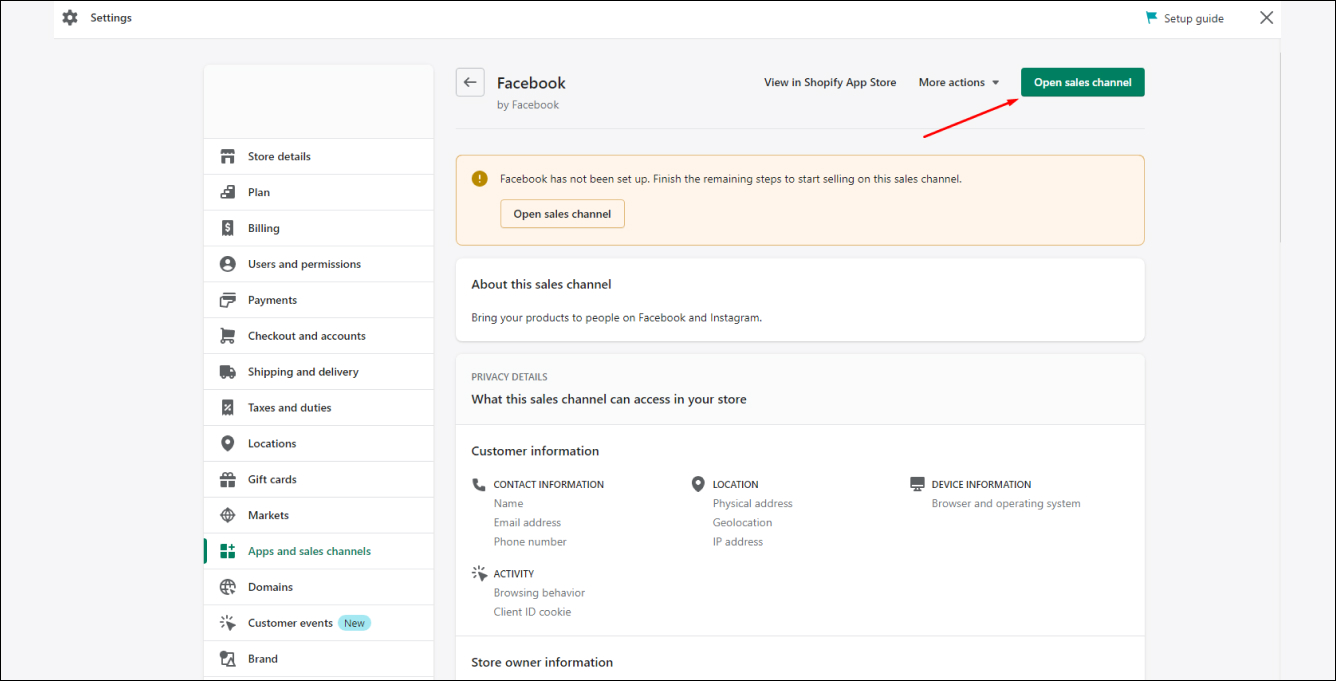 Step 4: Click on Start Setup. Thereupon, connect your Facebook account and add the pixel to your store.
Conclusion
Congratulations on installing the Facebook pixel on your Shopify store! We understand that some of the steps are too difficult for you to work with, but the key is to work one step at a time. It’s a full tried and tested process that you have in front of you – all you need to do is to follow the steps and you’re full way through it! After that, you just have to fix your Facebook ads budget, and you’re all set to go. If you’re focusing on getting on web traffic on your store instead of conversions, you can start with a small budget, and this will get you decent traffic. Once you achieve your target, you can optimize your Facebook ads and get more results. By the time you reach here, you’ll get to know more about Facebook marketing, and before you even realize it, you’ll become a Facebook marketing specialist, and your Shopify store will be experiencing huge profits. If you have any queries or get confused between some steps, leave a comment below. If you found this blog helpful, do not forget to tell to us and share it with your friends!Related: Looking for professional help? Explore our Shopify digital marketing services.